
How we turned two overflowing boxes into Vivienne’s family story
When Vivienne first got in touch, she had two archive boxes overflowing with printed photos. They’d come to her from her parents, and there was no order to any of it - just decades of family life all jumbled together.
Here’s how we went about it.
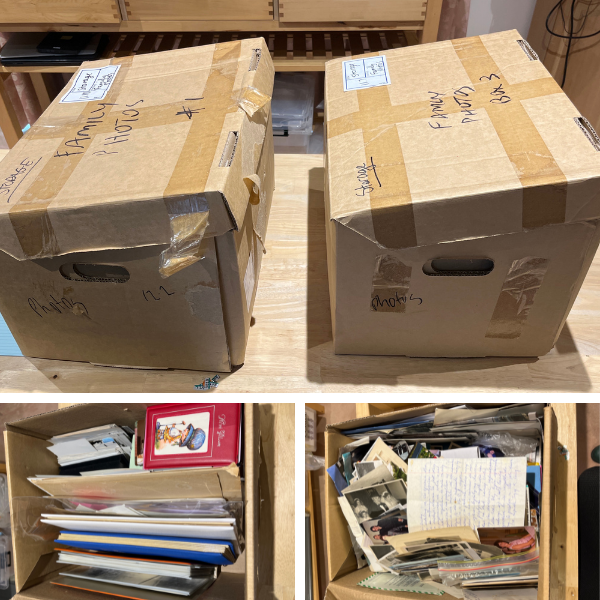
The two boxes as they arrived - unsorted, overflowing.
We started with Vivienne, not the photos
Before we touched a single photo, Carly sat down with Vivienne for a 45-minute interview over Zoom, which we recorded. We sent her the questions beforehand so she had time to think about them - names, places, the bits of family history that tend to get lost unless someone asks.
After the interview, Vivienne sent us a family tree and a timeline of key events.
Those three things became our “picture on the front of the box”. A big photo collection really is like a puzzle, and it’s so much easier to put the pieces together when you know what you’re aiming for.
Sorting the pieces
Next, we took every photo out of the boxes and sorted them into decades. From there, we worked them back into their original groupings as much as possible. We used whatever clues the photos gave us - dates, writing on the back, places, clothes, faces - along with everything Vivienne had shared with us.
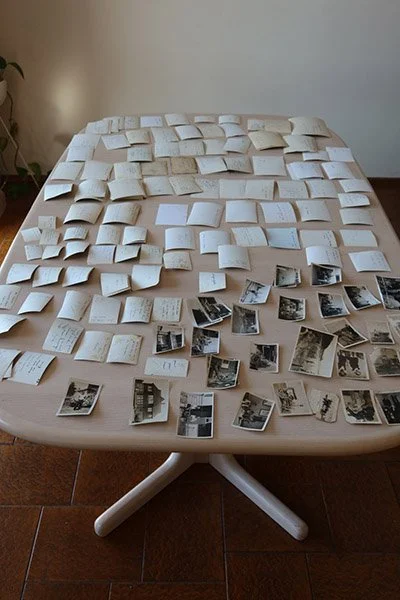
Sorting the prints into chronological order.
Scanning the fronts and the backs
Once everything was sorted, we digitised the photos. If there was anything important written on the back of a photo, we scanned the back too. The back gets the same file name as the front, just with a “b” on the end, so the two always stay together.
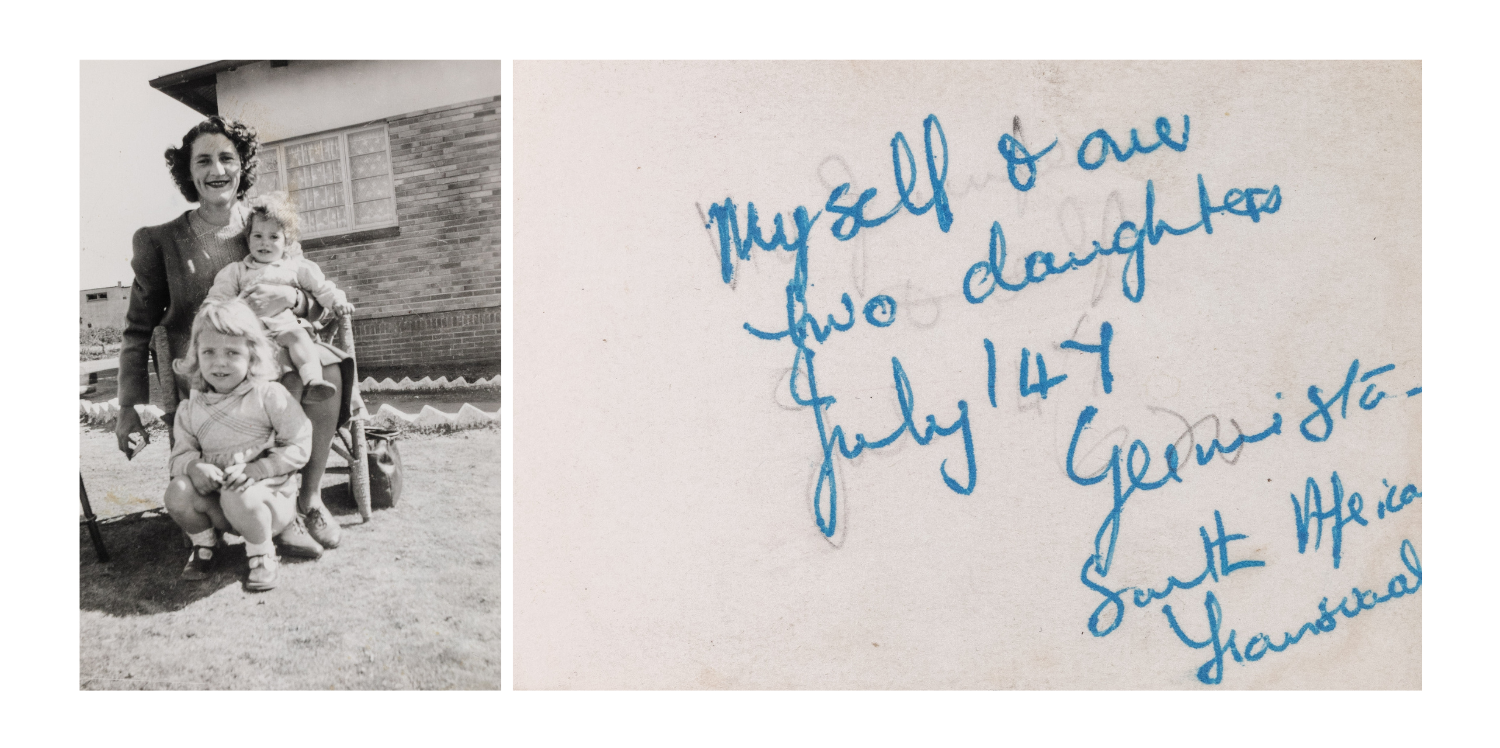
1945-07_PostLiberation_9230-024.jpg 1945-07_PostLiberation_9230-024b.jpg
After processing the files, we labelled and dated each batch so the whole collection sits in chronological order.
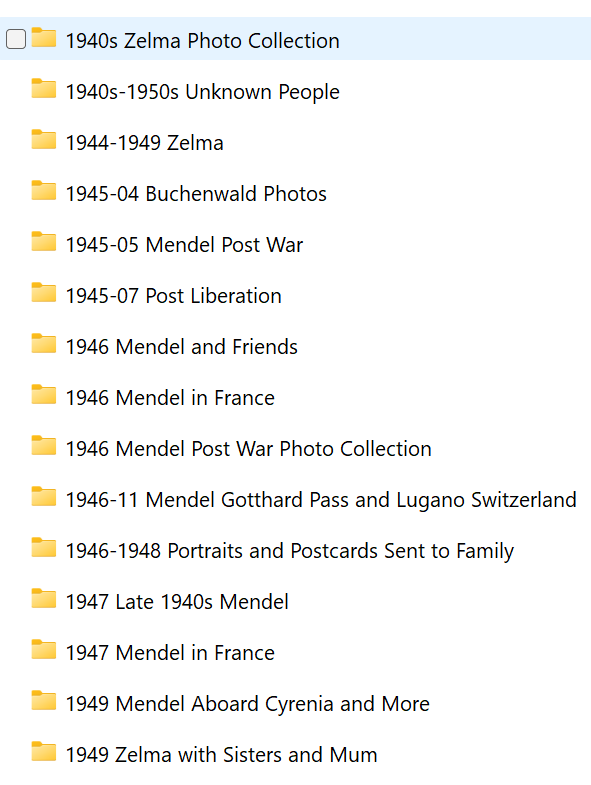
Screenshot of the 1940s folder on the USB
Putting the physical photos back in order
With the digital collection done, we reorganised the actual photos to match - same chronological order, labelled the same way. The 4x6 prints went into archival boxes, and the smaller and larger photos each got their own sleeve in a binder.
The archival part really matters. Ordinary cardboard boxes, old albums and plastic sleeves often contain acids and chemicals that slowly damage photos over time - that’s what causes yellowing, fading and prints sticking together. Our archival boxes and sleeves are made from acid-free materials and have passed the Photographic Activity Test (PAT), the international standard for safe photo storage. They also keep out light and dust and help protect against changes in temperature and humidity.
It means Vivienne’s photos are now stored in the best possible way to last for generations. What started as two overflowing boxes is now a family heirloom, ready to be handed down.
And because the physical collection matches the digital one, she can find any photo on her computer, then go straight to the box or binder and pull out the original.
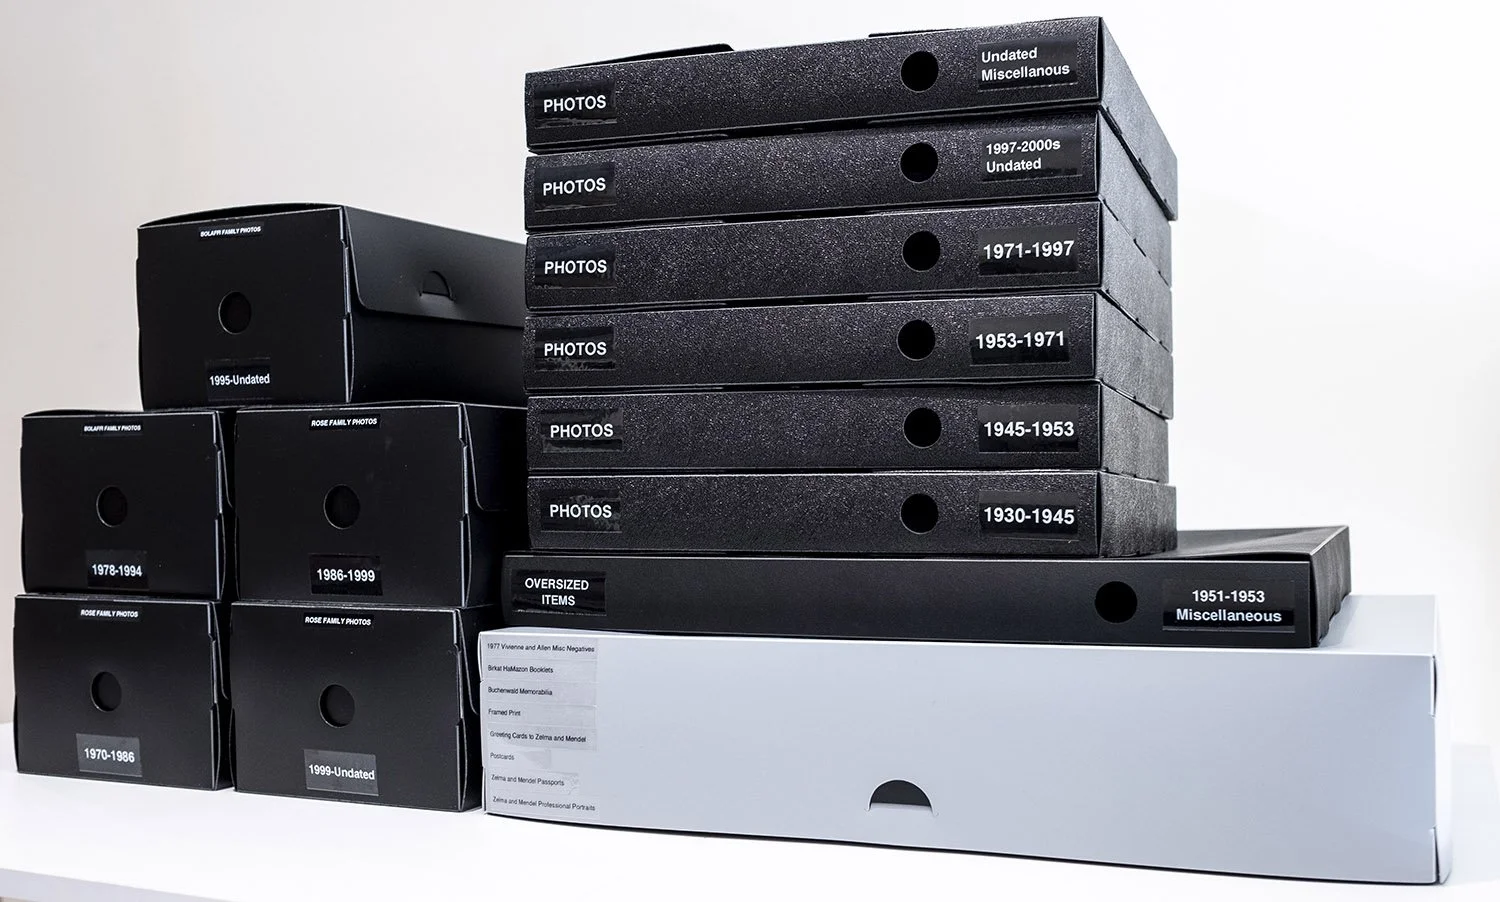
The archival boxes and binding containing the organised physical photos.
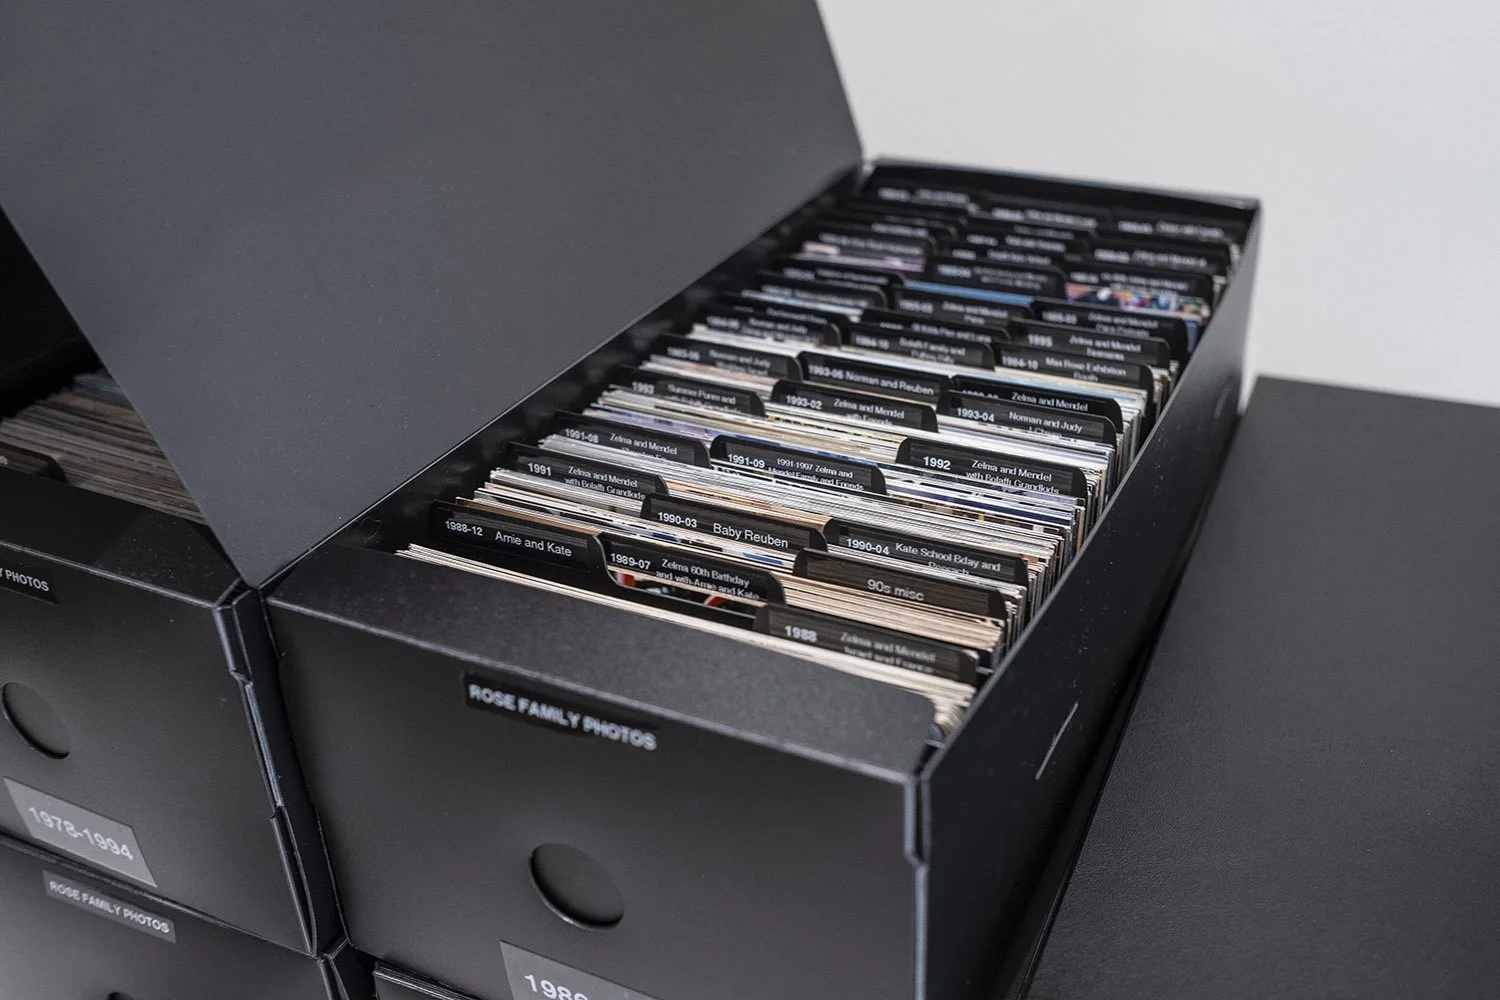
6×4 prints organised chronologically with batches labelled.
The family story booklet
We also put together a professionally printed booklet with the timeline, the family tree, the family story written from the interview, and the full interview transcript. The transcript ended up being a really important document in its own right.
Vivienne received the photo collection on a USB, along with a copy of the Zoom interview.
Keeping it all safe
When we delivered the collection, Carly sat with Vivienne and copied the photos into OneDrive and Dropbox - two services she was already paying for. With the USB as well, she now has three copies, one at home and two off-site. If anything ever happens to one, the photos are still safe.
That’s the part we always want to get right. All that work is only worth it if the photos are protected for the next generation.
